
 NEWS List
How to Use a Fiberglass Snake Pull Puller Correctly: Complete Steps from Beginner to Pro
Introduction
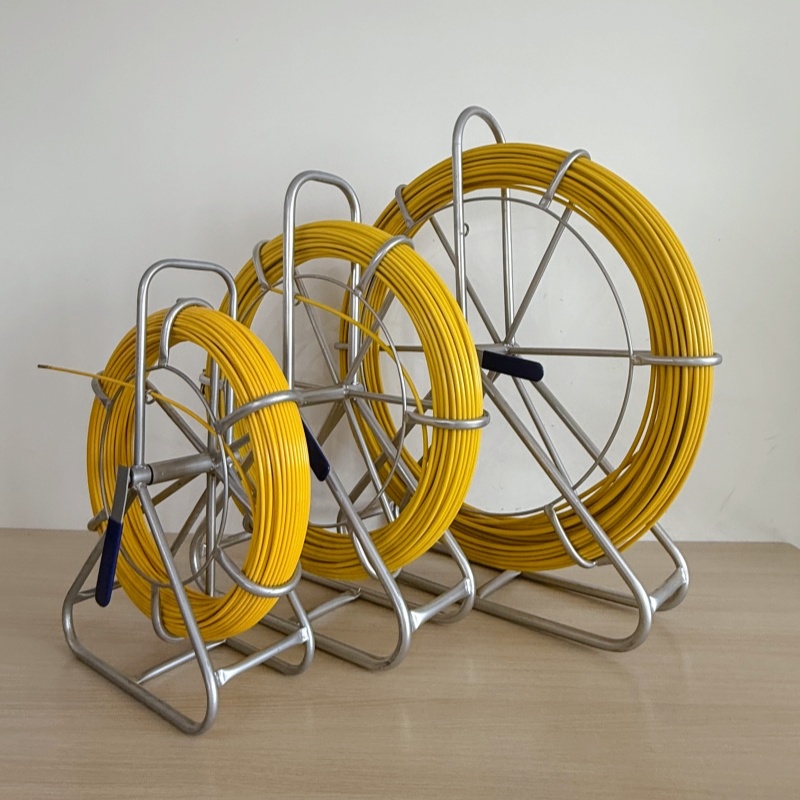
A fiberglass snake pull puller, also known as a duct rodder, fish tape, or conduit snake, is one of the most widely used tools for installing cables through conduits, ducts, pipelines, and underground utility routes.
Although the tool appears simple, improper use can lead to:
Rod breakage
Conduit blockages
Cable damage
Reduced equipment lifespan
Increased labor costs
Professional contractors understand that successful cable installation depends not only on the quality of the rodder but also on proper operating techniques.
This guide provides a complete step-by-step tutorial, from preparation to storage, helping both beginners and experienced technicians maximize efficiency while protecting their equipment.
Understanding How a Fiberglass Snake Pull Puller Works
Before starting, it is important to understand the basic operating principle.
A fiberglass rod is pushed through a conduit or duct until it reaches the exit point. A pull rope, cable, or draw wire is then attached to the rod tip and pulled back through the conduit.
The process consists of four stages:
1.Preparation
2.Push-In Operation
3.Cable Pulling Operation
4.Retrieval and Storage
Mastering each stage significantly improves installation success rates.
Step 1: Tool Preparation
Proper preparation often determines whether a cable pull will be smooth or frustrating.
Inspect the Rod Before Use
Check the entire rod for:
Cracks
Splinters
Surface wear
Deformation
Damaged connectors
Never use a rod with visible structural damage.
Small defects can become major failures under pulling loads.
Choose the Right Lubricant
Lubricants reduce friction between the rod and conduit walls.
Recommended Lubricants
Suitable for:
Long conduit runs
Multiple bends
Small-diameter ducts
Fiber optic installations
Common options include:
Water-based cable lubricant
Polymer cable lubricant
Fiber-optic-approved lubricant
Avoid
Petroleum grease
Engine oil
Solvent-based chemicals
These products may damage cable jackets and conduit materials.
Install the Correct Connector
Different applications require different accessories.
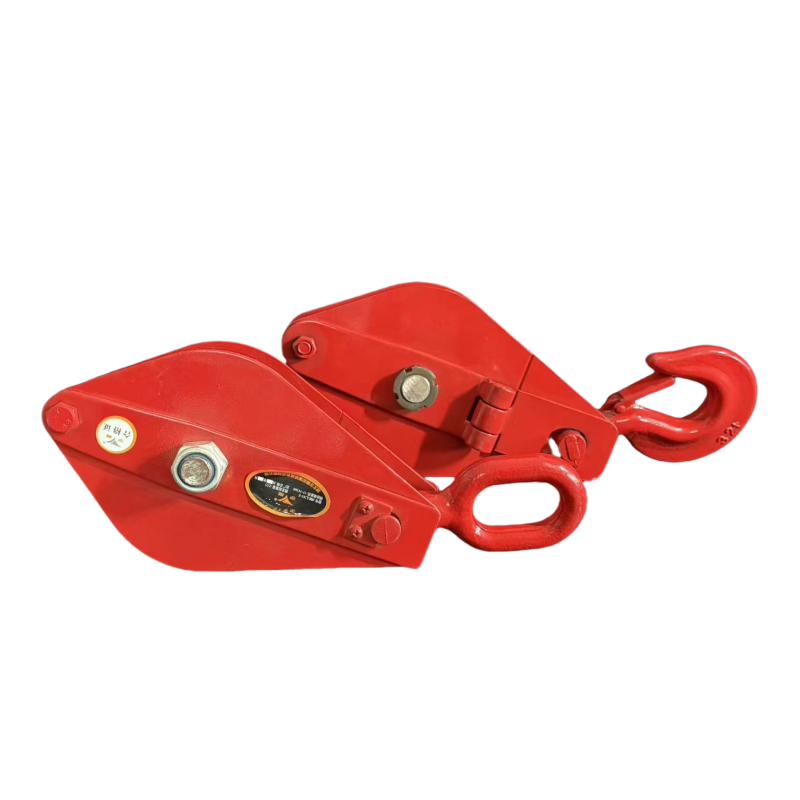
Common Attachments
Attachment Function
Pulling Eye Connects pull rope
Swivel Connector Prevents twisting
Flexible Leader Improves bend navigation
Guide Head Reduces snagging
Cable Grip Pulls cable directly
Ensure all threaded connections are fully tightened before use.
Loose fittings are a common cause of equipment loss inside conduits.
Trim Excess Length if Necessary
For short conduit runs, excessive rod length can:
Increase handling difficulty
Cause tangling
Reduce operator control
Use only the amount of rod required for the job whenever practical.
Step 2: Push-In Phase — Mastering Entry and Navigation
The push-in phase is where most installation problems begin.
Proper technique is critical.
Start with Correct Alignment
Position the rod directly in line with the conduit entrance.
Avoid:
Sharp entry angles
Side loading
Twisting during insertion
Misalignment creates unnecessary friction and increases the chance of jamming.
Use Smooth, Controlled Movements
Many beginners attempt to force the rod forward.
Professional installers do the opposite.
Best Practice
Push using:
Short strokes
Consistent pressure
Steady forward movement
Allow the rod's natural flexibility to navigate bends.
Aggressive force often causes the rod to buckle inside the conduit.
Control the Entry Angle
Maintain a low insertion angle whenever possible.
Ideal Angle
Generally between:
0°–20° relative to the conduit opening
A low angle helps transfer pushing force efficiently through the rod.
Rotational Assistance Technique
When approaching bends:
1.Push gently forward.
2.Rotate the rod slowly.
3.Continue advancing.
The combination of rotation and forward pressure helps the guide head navigate obstacles and directional changes.
This technique is especially effective in conduits with multiple elbows.
Step 3: Pull-Out Phase — The Art of Consistent Pulling Force
Once the rod reaches the destination point, the cable or pull rope can be attached.
Many installations fail during this stage because of improper pulling technique.
Secure the Connection
Before pulling:
Verify connector tightness
Inspect rope attachment
Confirm cable grip engagement
A failed connection may require repeating the entire installation process.
Apply Steady, Even Force
The most important rule:
Never jerk the cable.
Sudden force can:
Damage cable jackets
Break connectors
Exceed rod tensile limits
Instead:
Recommended Pulling Rhythm
Slow start
Constant tension
Smooth movement
Gradual acceleration
Think of the operation as "guiding" the cable rather than dragging it.
Coordinate Between Operators
For long conduit runs, communication is essential.
One operator should:
Feed cable
The second operator should:
Pull steadily
Coordinated movement significantly reduces friction and cable stress.
3 Emergency Solutions for Common Jams and Blockages
Even experienced technicians occasionally encounter obstructions.
The key is knowing how to respond correctly.
Problem 1: Rod Stops Moving Completely
Possible Causes
Debris
Crushed conduit
Severe bend
Internal obstruction
Solution
1.Pull back approximately 1–2 meters.
2.Rotate the rod.
3.Reinsert using lighter pressure.
Many blockages can be bypassed with a different rod orientation.
Problem 2: Rod Buckles Near Entry Point
Possible Causes
Excessive pushing force
Rod diameter too small
Poor entry alignment
Solution
1.Reduce pushing force.
2.Improve entry angle.
3.Use shorter push strokes.
Never force a buckled rod.
Doing so may permanently damage the fiberglass core.
Problem 3: Cable Becomes Stuck During Pulling
Possible Causes
Insufficient lubrication
Tight bends
Excessive cable load
Solution
1.Stop pulling immediately.
2.Release tension.
3.Add lubricant if possible.
4.Pull back slightly.
5.Resume at lower speed.
Repeated forceful pulling can damage both the cable and the duct rodder.
Step 4: Retrieval and Storage
Many fiberglass rods are damaged after the job is finished—not during installation.
Proper retrieval and storage dramatically extend equipment life.
Retrieve the Rod Slowly
During recovery:
Maintain light tension
Avoid rapid winding
Prevent twisting
Fast retrieval can create hidden stress within the fiberglass core.
Clean the Rod Before Storage
Remove:
Dirt
Mud
Sand
Chemical residues
A clean rod experiences less surface wear and lasts significantly longer.
Inspect for Damage
After each project, check for:
Surface cuts
Coating wear
Connector damage
Bent sections
Early detection prevents future failures.
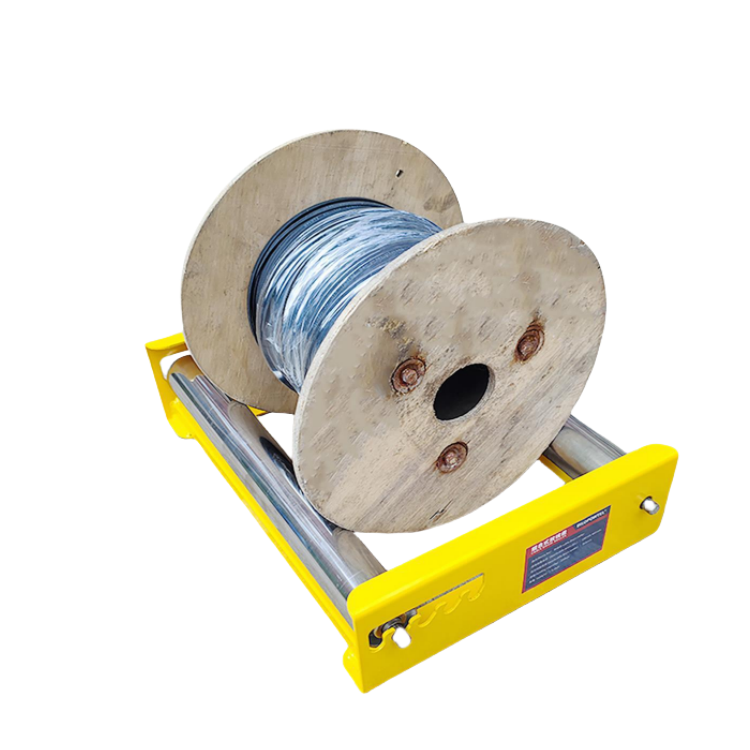
Store on the Reel Correctly
Always:
Wind evenly
Follow the reel direction
Maintain a large bending radius
Avoid:
Tight coils
Sharp bends
Heavy objects placed on the reel
Fiberglass rods retain memory and may deform if stored improperly.
Ideal Storage Conditions
Store equipment in:
Dry locations
Covered areas
Moderate temperatures
UV-protected environments
Long-term exposure to sunlight can gradually degrade protective coatings.
Professional Tips for Maximum Service Life
Experienced contractors follow several additional practices:
Do
✓ Use lubricant on difficult pulls
✓ Inspect connectors regularly
✓ Replace worn guide heads
✓ Clean equipment after every job
✓ Use the correct rod diameter for the conduit size
Don't
✗ Exceed pulling force limits
✗ Force through obstructions
✗ Drag rods across abrasive surfaces
✗ Store under heavy loads
✗ Ignore visible rod damage
These simple habits can extend rod life by several years.
Conclusion
Using a fiberglass snake pull puller effectively requires more than simply pushing a rod through a conduit.
Professional results come from mastering four critical stages:
1.Proper preparation
2.Controlled push-in techniques
3.Steady pulling procedures
4.Correct retrieval and storage methods
By applying the techniques outlined in this guide, technicians can reduce installation time, prevent equipment damage, improve safety, and maximize the service life of their fiberglass duct rodder.
Whether you are installing fiber optic cables, electrical conductors, communication lines, or utility wiring, following these best practices will help you complete cable pulling projects faster and more efficiently.
Article Sources / References
本文内容基于通信布线、电力施工及线缆安装行业公开技术资料整理,主要参考来源包括:
1.The Fiber Optic Association (FOA) — 光纤布线、导管穿线及安装佳实践。
2.BICSI International — 通信基础设施安装与电缆管理标准。
3.National Electrical Contractors Association (NECA) — 电气施工与导管系统安装规范。
4.Occupational Safety and Health Administration (OSHA) — 施工现场设备使用与安然操作指南。
5.The Fiber Broadband Association (FBA) — FTTH光纤网络建设与施工技术资料。
6.各主流Duct Rodder、Fish Tape及Cable Pulling Equipment制造商的产品手册、维护指南和现场应用案例。