
 NEWS List
Fiberglass Duct Rodder Common Troubleshooting: Fix Jam, Stuck Rod and Feeding Issues
Introduction: Why Duct Rodder Problems Happen
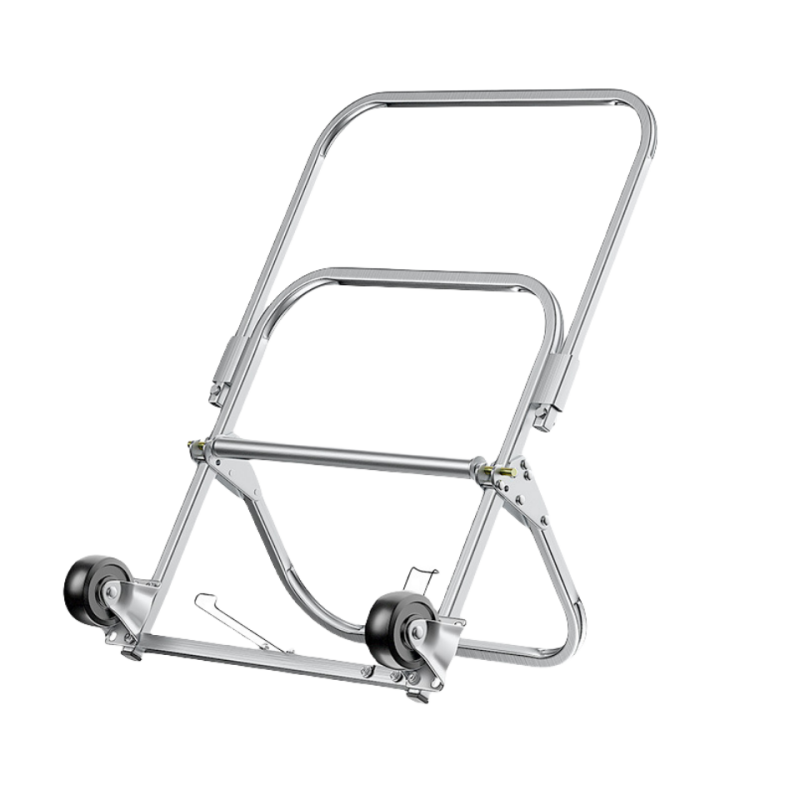
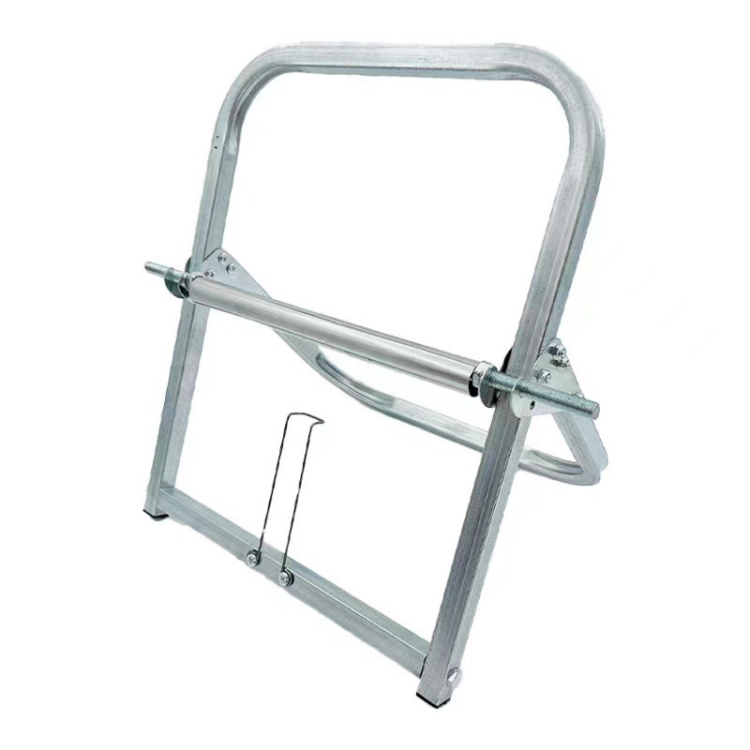
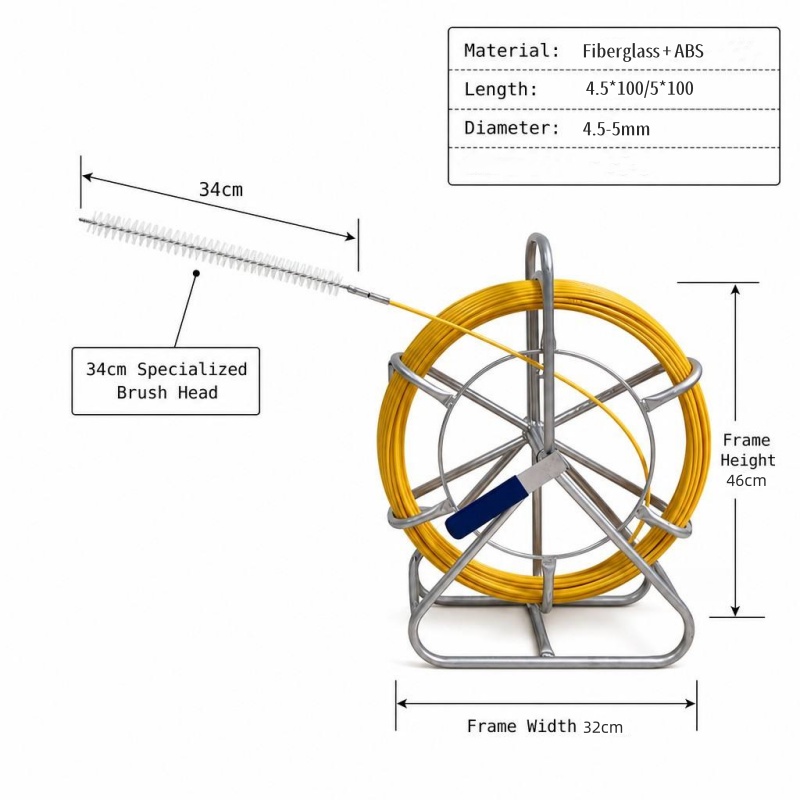
A fiberglass duct rodder is designed to help installers push a flexible rod through conduit or underground duct so that a pulling rope can later be connected for cable installation. Modern fiberglass rodders combine a glass-reinforced composite core with a protective outer coating, and professional models may include a reel cage, brake, wheels, tapered head and replaceable components.
However, even a high-quality duct rodder can experience feeding problems, jams, excessive resistance or a stuck rod when the duct route is poorly prepared or the equipment is incorrectly selected.
The most common causes include:
Duct bends that are too tight
Debris, mud or water inside the duct
Rod diameter that is too large for the conduit
Excessive pushing force
Poor reel alignment
Damaged rod coating or end fittings
Cable twisting during the pulling stage
Excessive cable pulling tension
Incorrect pulling accessories
The key troubleshooting principle is simple:
When resistance suddenly increases, stop and identify the cause instead of continuing to force the rod forward.
The following guide explains how to diagnose and solve common fiberglass duct rodder problems while reducing the risk of damaging the rod, conduit or cable.
1. Top 5 Most Common Problems During Duct Cable Pulling
Before troubleshooting a specific problem, it helps to understand the five issues that appear most frequently during duct-rodding and cable-pulling work.
Problem 1: Fiberglass Rod Jams at a Bend
The rod feeds normally through a straight section but becomes difficult to push when it reaches a bend.
Typical causes include:
Bend radius is too tight
Rod diameter is too large
Duct has shifted or deformed
Rod is approaching a damaged section of conduit
Rod head is catching on an internal obstruction
Reel is positioned at an angle to the duct entrance
A fiberglass rod has a defined minimum bending radius. For example, Condux specifies minimum bending radii from 76 mm for its 5 mm rod to 280 mm for its 11 mm and 13 mm rods. These are product-specific values and should not be treated as universal specifications.
Problem 2: Rod Stops Completely Underground
A rod may suddenly stop after several meters or tens of meters.
Possible causes include:
Collapsed or damaged duct
Construction debris
Excessive mud or sediment
Water and contamination
A sharp internal obstruction
Existing cable or pulling rope blocking the route
Excessive friction at multiple bends
Do not immediately assume that stronger pushing force will solve the problem.
Problem 3: Rod Is Difficult to Feed in a Narrow Duct
Small conduits create more contact between the rod and the duct wall.
OSHA notes that smaller conduit increases contact points and resistance during wire-pulling operations, while bends can further increase the force required.
For duct rodding, a similar principle applies: the combination of small internal diameter, bends, friction and an oversized rod can make feeding difficult.
Problem 4: Cable Twists or Becomes Tangled
The fiberglass rod itself may feed correctly, but problems can occur when the pulling rope is connected to the cable.
Cable twisting can be caused by:
No swivel between pull line and cable
Incorrect pulling-grip installation
Cable being pulled directly from the end of a reel
Poor cable payout
Improper figure-eight handling
Sudden changes in pulling direction
The FOA recommends using swivel pulling eyes to reduce twisting loads and using figure-eight loops when handling cable on the ground during longer pulls.
Problem 5: Reel Feeds Unevenly
Sometimes the rod itself is not the problem.
An improperly positioned or poorly maintained reel can cause:
Uneven payout
Excessive resistance
Rod overlapping on the reel
Sudden release of stored rod tension
Difficulty controlling the feeding speed
A professional duct rodder should allow controlled rod payout. Condux, for example, uses hand-operated wheel brakes on its duct rodder cages, while wheeled cages are available for easier field movement.
2. How to Handle Rod Jam in Bends Without Damaging Conduit
A rod jam at a bend is one of the most common field problems.
The wrong response is to push harder.
A better response is to reduce the load and determine why the rod stopped.
Step 1: Stop Forward Pressure
When the rod suddenly becomes difficult to push, stop applying additional force.
Do not repeatedly ram the rod forward.
Excessive force can:
Damage the rod
Deform the rod head
Damage the protective coating
Increase the risk of rod buckling
Increase stress on the duct
Step 2: Retract the Rod Slightly
Pull the rod back a short distance and allow it to relax.
Then try feeding again slowly.
If the rod moves backward easily but repeatedly stops at exactly the same location, this may indicate a localized obstruction or difficult bend.
Step 3: Check Reel Alignment
The reel should be positioned so that the rod enters the duct as directly as practical.
A poor entry angle creates unnecessary lateral force.
Professional duct rodder designs often include wheels, a stable cage and a brake to make positioning and controlled feeding easier.
Step 4: Check the Rod Diameter and Bend Radius
If the rod is too large for the duct geometry, forcing it through the bend is not an appropriate solution.
Instead, evaluate whether a smaller-diameter rod is suitable.
For example, Condux offers 5 mm and 6 mm rods for smaller ducts and shorter runs, with smaller minimum bend radii than its larger rod configurations.
Step 5: Inspect the Duct if the Problem Persists
If the rod repeatedly stops at the same point, investigate the duct.
Depending on the site, useful methods may include:
Inspection camera
Duct mandrel
Existing route drawings
Pulling-line inspection
Access through another manhole or handhole
Do not use the duct rodder as a substitute for duct inspection.
3. What to Do When Fiberglass Rod Gets Stuck Deep in Underground Duct
A deeply stuck rod requires more caution than a simple bend jam.
The deeper the rod is inserted, the more difficult it can be to identify the source of resistance.
First: Stop Forcing the Rod
If the rod becomes completely immobile, stop pushing and pulling aggressively.
Repeated high-force loading can damage the fiberglass rod and its fittings.
A commercial rodder's published pull strength is not permission to apply unlimited force. For example, Condux publishes different pull-strength values for different rod diameters, but these are product specifications that must be used according to the manufacturer's instructions.
Record the Insertion Distance
If the rod has length markings, record approximately where the problem occurred.
Length markings can help the team estimate the location of:
A blockage
A damaged duct section
A bend
A manhole
A transition point
This information becomes particularly useful when multiple access points are available.
Try Controlled Withdrawal
If the rod can still move backward:
1.Stop forward feeding.
2.Reduce any external load.
3.Withdraw the rod slowly.
4.Avoid sharp sideways pulling.
5.Inspect the rod after retrieval.
If the rod coating shows cuts, flattening, cracks or exposed fiberglass, do not immediately return it to service.
Investigate the Duct
If the rod repeatedly becomes stuck at the same location, the problem may be with the duct rather than the rod.
Possible causes include:
Crushed conduit
Tight bend
Construction debris
Mud or sediment
Existing cable obstruction
Duct deformation
Damaged duct coupling
For underground work, site-specific safety procedures and applicable regulations must also be followed. OSHA requirements for underground electrical installation include considerations such as access, communications and safe handling of equipment.
When to Escalate
Stop the operation and escalate when:
The rod cannot be withdrawn
The rod appears damaged
The duct may be damaged
The pulling force becomes abnormal
Existing cables may be affected
Underground access creates a safety hazard
Additional personnel or communication are required
A stuck rod is an equipment problem; an unsafe underground operation is a much more serious issue.
4. Feeding Difficulties in Narrow Ducts: Causes and Quick Solutions
Small-diameter ducts can be especially sensitive to rod selection.
Cause 1: Rod Diameter Is Too Large
A larger rod is not automatically better.
As rod diameter increases, stiffness generally increases, but flexibility and compatibility with tight duct routes can decrease.
The correct choice depends on:
Duct internal diameter
Number of bends
Bend radius
Required working length
Required pulling capability
Condux's specifications demonstrate that smaller rods can have smaller minimum bend radii, while larger rods are designed for higher pull strength.
Cause 2: Excessive Friction
Check whether the duct contains:
Dirt
Mud
Water
Construction debris
Existing cable
Damaged sections
If cable pulling rather than rod feeding is the problem, use only a lubricant approved for the specific cable jacket and installation system.
The FOA specifically recommends cable lubricants for many longer fiber-optic cable pulls and emphasizes compatibility with the cable jacket.
Do not automatically apply cable lubricant to the fiberglass rod or reel mechanism. Mechanical lubrication and cable-pulling lubrication are different applications.
Cause 3: Poor Reel Position
Move the reel closer to the duct entrance where practical and align the rod with the duct.
Avoid creating a sharp lateral angle immediately before the rod enters the conduit.
Cause 4: Rod Surface Damage
A damaged outer coating can increase friction and make feeding less predictable.
Inspect for:
Deep scratches
Cuts
Flattened areas
Cracks
Exposed fibers
Damaged end fittings
If damage is significant, replace the affected rod or component according to the manufacturer's repair procedure.
Cause 5: Feeding Too Aggressively
Fast pushing does not necessarily mean faster installation.
In a narrow duct, controlled feeding allows the operator to recognize increasing resistance before it becomes a serious jam.
A useful field principle is:
Feed steadily → monitor resistance → stop at abnormal resistance → investigate → continue only after the cause is understood.
5. How to Avoid Cable Twisting and Tangling During Pulling Process
Rod feeding and cable pulling are two different stages.
After the fiberglass rod has successfully passed through the duct, it is normally used to install a pulling rope or line. The cable is then connected to the pulling system.
At this stage, preventing cable twisting becomes critical.
Use an Appropriate Swivel
The FOA recommends swivel pulling eyes to connect the pulling rope or tape to the cable because they help prevent pulling tension from creating twisting forces in the cable.
For higher-tension applications, a breakaway swivel can provide additional protection when used according to the cable and pulling-system requirements.
Use the Correct Pulling Grip
Fiber optic cable should normally be pulled through its designated strength members unless the cable manufacturer specifically permits jacket pulling with an approved grip.
Do not improvise a pulling connection simply because the cable appears mechanically strong.
Align the Cable Reel
The cable reel should be properly positioned so that the cable pays off in a controlled and straight path.
Corning's duct-installation procedure recommends checking the reel and mounting equipment, ensuring the reel is stable and level, and aligning the reel with the feed hole for a straight cable path.
Avoid Spinning the Cable Off the Reel End
The FOA recommends rolling cable off the spool rather than spinning it off the end because spinning can introduce twist into the cable.
Use Figure-Eight Loops When Necessary
For longer cable pulls, figure-eight loops can help manage cable on the ground without introducing cumulative twists.
This is especially useful when the cable must be temporarily laid out before being pulled through another section of duct.
Never Exceed Cable Pulling Tension
The fiberglass rod may have a relatively high mechanical strength, but that does not mean the cable can tolerate the same pulling force.
The cable manufacturer's maximum pulling tension always needs to be respected. FOA guidance specifically warns installers not to exceed the cable's maximum pulling-tension rating.
6. Emergency Kit Preparation for On-Site Troubleshooting
A small troubleshooting kit can prevent a minor equipment problem from stopping an entire installation crew.
Recommended Fiberglass Rodder Emergency Kit
Rodder Components
Spare tapered pulling head
Spare end fitting
Spare connector
Replacement rod section or replacement rod
Rod repair kit, if supported by the manufacturer
Cleaning cloth
Soft brush
Commercial duct rodder manufacturers may provide replacement rods and repair kits. Condux, for example, lists replacement rods and replacement end fittings/tapered heads for its duct rodders.
Cable-Pulling Accessories
Pulling rope
Swivel
Appropriate cable grip
Pulling eye
Approved cable lubricant
Cable rollers or guides
Inspection Tools
Flashlight
Measuring tape
Inspection mirror
Duct inspection camera, where appropriate
Marker
Notebook or digital inspection record
General Tools
Adjustable wrench
Pliers
Screwdrivers
Hex keys
Spare fasteners
Gloves
Cleaning materials
Communication and Safety Equipment
For underground or multi-access-point work, communication equipment may be essential.
Depending on the project:
Radios
Mobile communication equipment
Warning signs
Appropriate PPE
Site-specific underground safety equipment
The exact safety equipment should be determined by the work environment, employer procedures and applicable regulations.
7. Pre-Operation Checks That Prevent 90% of Common Issues
The “90%” figure should be treated as a practical marketing concept rather than a universal, independently verified statistic. However, a thorough pre-operation inspection can prevent many avoidable problems.
A five-minute inspection before feeding the rod is often far cheaper than dealing with a damaged rod or blocked conduit halfway through a project.
Check 1: Inspect the Fiberglass Rod
Look for:
Cracks
Deep scratches
Exposed fiberglass
Flattened sections
Severe bends
Contamination
Damaged markings
If the rod has obvious structural damage, do not continue using it simply because it can still be pushed.
Check 2: Inspect the Pulling Head and Connector
Check that:
Threads are intact
Head is securely attached
Connector is not loose
Pulling eye is undamaged
No sharp edges can catch the duct
A tapered head is designed to guide the duct rod through conduit and provide a connection point for the pull line.
Check 3: Inspect the Reel
Confirm:
Reel rotates smoothly
Brake works correctly
Frame is stable
Wheels are secure
Axle is properly positioned
No loose fasteners are present
Check 4: Inspect the Duct Route
Before inserting the rod, determine:
Approximate duct length
Duct diameter
Number of bends
Access points
Existing cables
Known obstructions
Duct condition
Route assessment is particularly important for fiber installations. FOA recommends assessing the route before installation to identify obstacles and determine the appropriate installation method.
Check 5: Confirm the Cable Specifications
Before the final cable pull, confirm:
Maximum pulling tension
Minimum bend radius
Cable diameter
Approved pulling method
Approved grip
Approved lubricant
Required pulling direction
For fiber optic cable, these specifications can vary significantly between cable constructions.
Quick Pre-Operation Checklist
Inspection Item Check
Rod surface No structural damage
Rod diameter Suitable for duct
Rod length Sufficient for route
Minimum bend radius Suitable for route
Pulling head Secure and undamaged
Connector Tight and intact
Reel Smooth rotation
Brake Functional
Wheels/frame Secure
Duct Clean and unobstructed
Cable Correct pulling specification
Grip/swivel Correctly selected
Lubricant Cable-compatible if required
Communication Available where required
PPE/site safety Confirmed
Troubleshooting Decision Guide
When a fiberglass duct rodder develops a problem, use the following sequence:
Rod feeds normally → sudden resistance → STOP
↓
Can the rod move backward?
YES → Retract slightly → inspect alignment → check bend/duct condition → try controlled feeding again.
NO → Do not increase force → record insertion distance → inspect route/access points → escalate if necessary.
If the problem occurs repeatedly at the same location:
Suspect duct condition or route geometry.
If the problem occurs throughout the entire route:
Check rod diameter, rod condition, reel alignment and friction.
If the rod passes successfully but the cable twists:
Check cable reel alignment, pulling grip and swivel.
If cable pulling tension becomes excessive:
Stop pulling and identify the source of resistance.
For fiber-optic installations, FOA recommends finding and correcting the cause of excessive friction rather than simply continuing to increase pulling force.
Conclusion: Troubleshoot the Cause, Not Just the Symptom
Most fiberglass duct rodder problems can be traced to a small number of factors: unsuitable rod diameter, difficult duct geometry, excessive friction, poor reel alignment, damaged fittings, or incorrect cable-pulling practices.
The most important troubleshooting habits are:
1.Do not force a jammed rod.
2.Check the duct before blaming the rod.
3.Select rod diameter according to duct conditions.
4.Keep the reel aligned with the duct entrance.
5.Inspect the rod and fittings before every job.
6.Use appropriate pulling grips and swivels.
7.Keep cable pulling tension within the cable manufacturer's limit.
8.Prepare replacement heads, connectors and repair components.
9.Record the location of repeated obstructions.
10.Stop and escalate when the operation becomes unsafe.
A fiberglass duct rodder is a relatively simple tool, but its performance depends heavily on correct selection, route preparation and operating technique. A well-maintained rodder with the correct diameter, suitable bend radius, stable reel and compatible accessories can make duct installation much more predictable.
The goal of troubleshooting is therefore not simply to “push harder.” It is to identify the source of resistance, correct the underlying problem, and continue the installation without damaging the rod, conduit or cable.